Download operating system
for your personal computer.
Solus 4.5 (January, 2024) 64-bit All Editions Official ISO Download
- OS Version: Solus
- OS Distribution: Solus
- OS Family: Linux
- Developers: Solus Team
Description
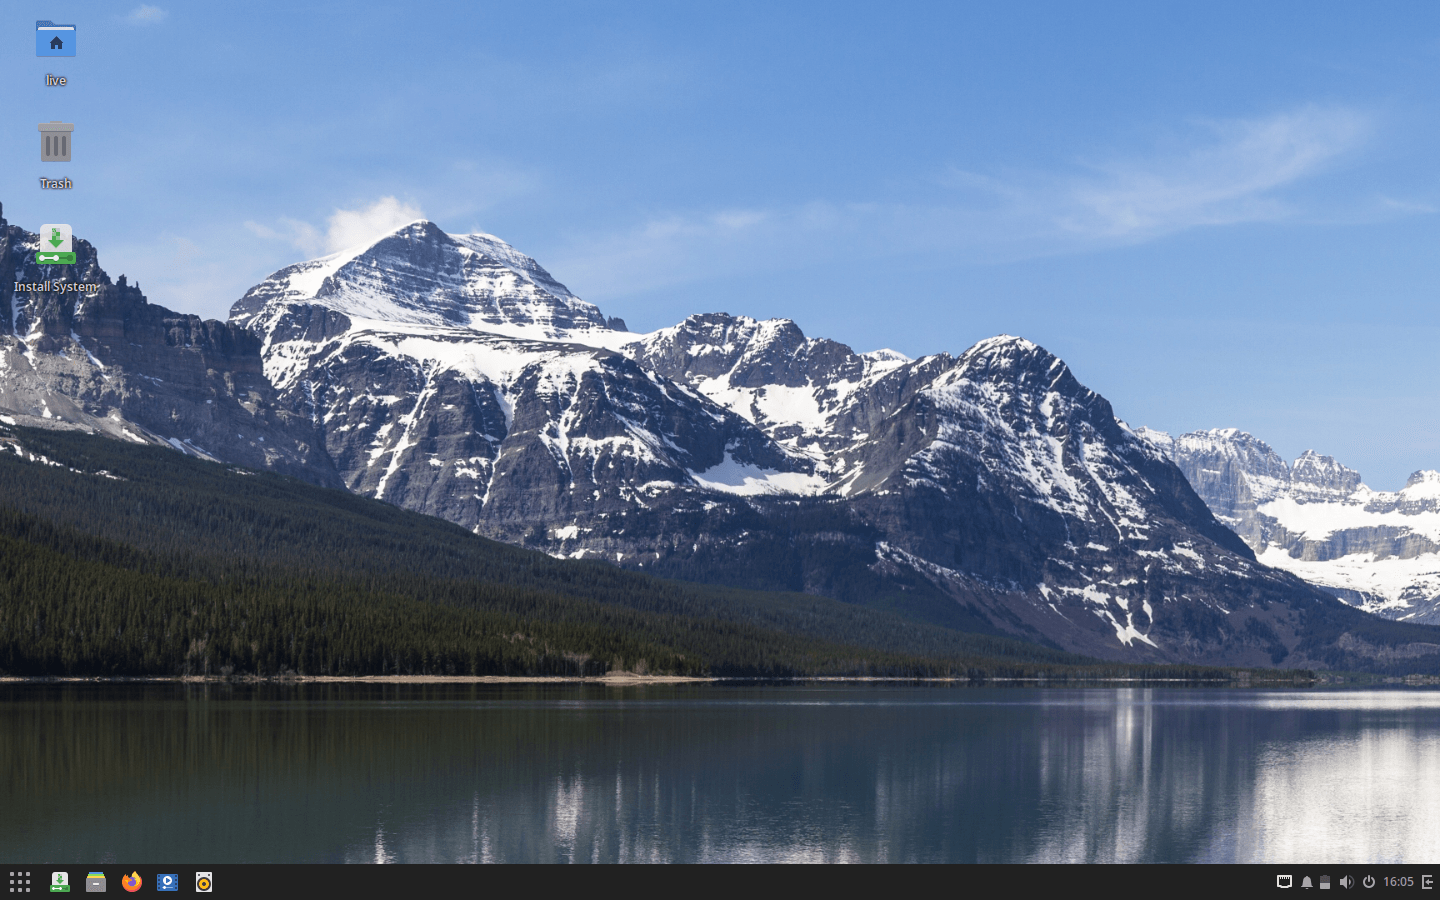
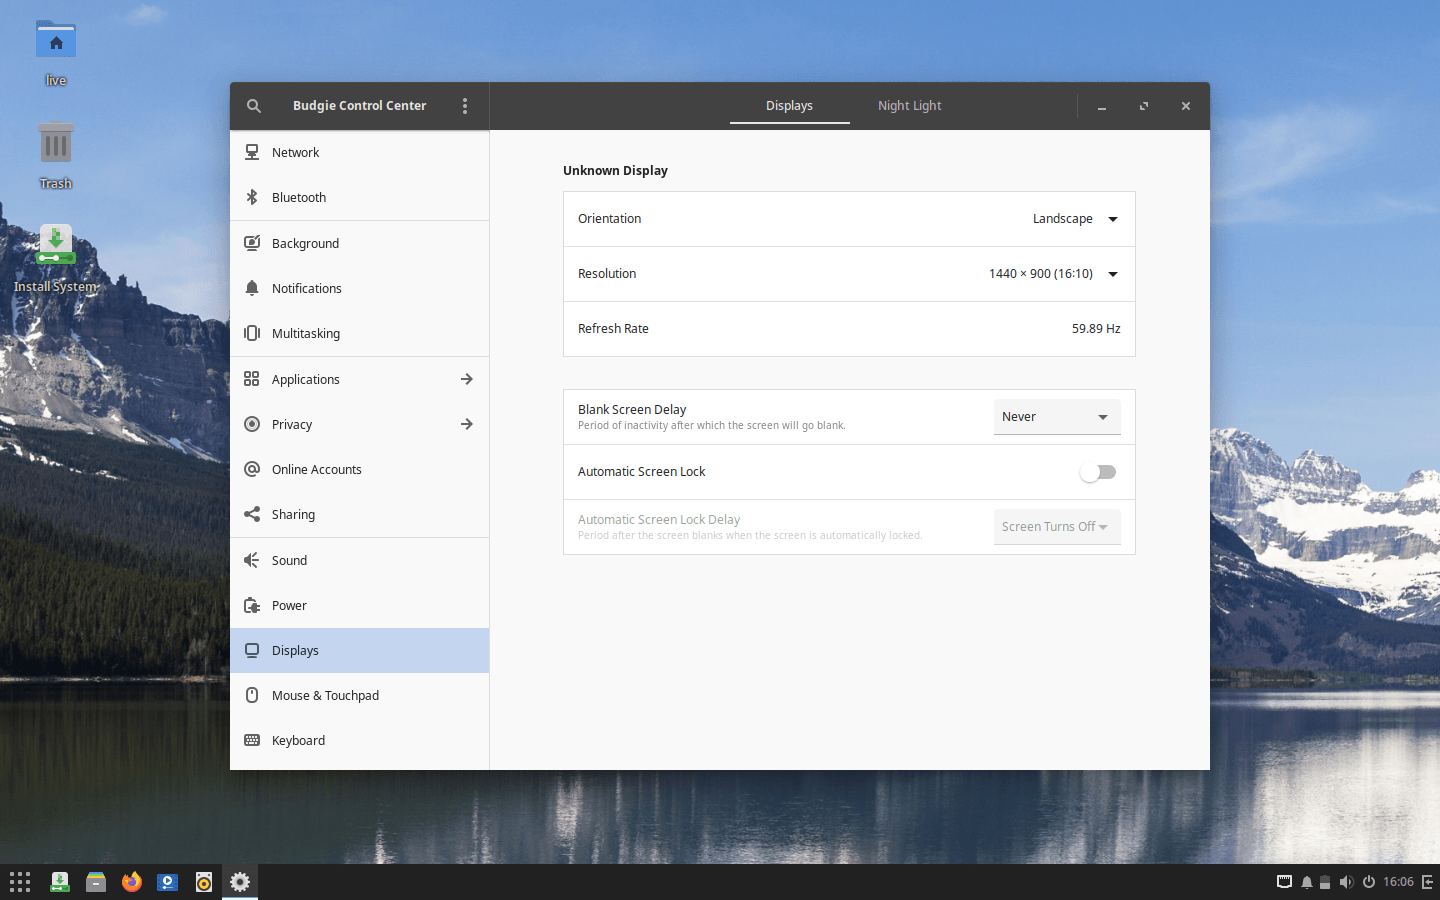
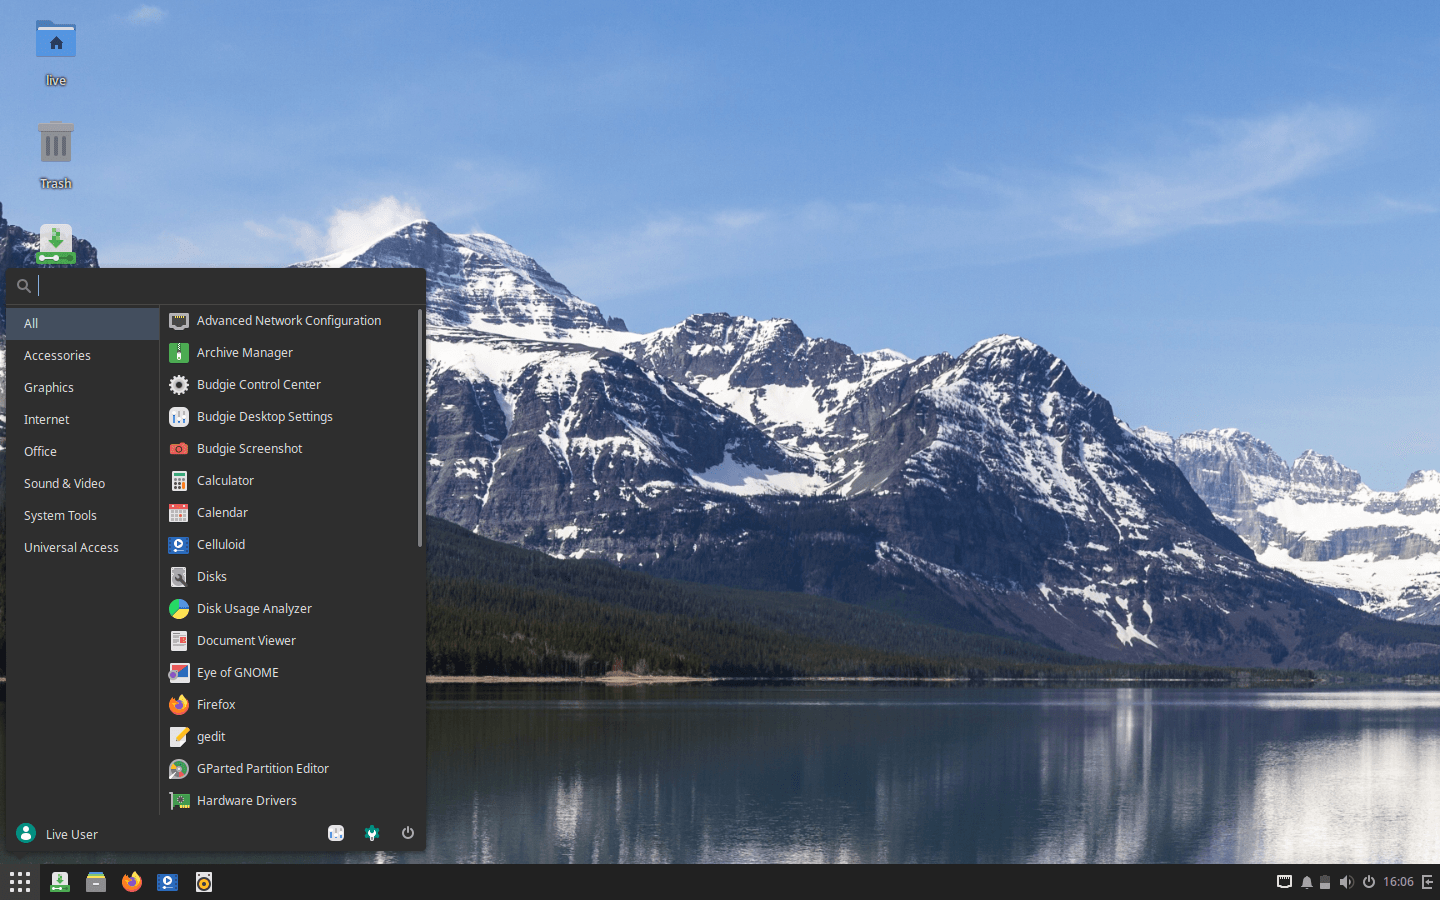
Solus 4.5 was released in January, 2024, it was preceded by version 4.4, and it is available for desktop / laptop computers. The 64-bit version is available for Solus 4.5, and desktop environments such as Linux kernel has been upgraded to version 6.6.9, providing better performance and compatibility. The installation experience has been redesigned with the Calamares installer, ensuring a user-friendly setup process. Notable software updates include Firefox 121.0, LibreOffice 7.6.4.1, and Thunderbird 115.6.0, which provide users with the latest features and security enhancements. The shift from PulseAudio and Jack to PipeWire as the media framework is a significant change for a more streamlined multimedia experience. Solus now offers ROCM support for AMD hardware, catering to a wide range of users. Mesa has been upgraded to version 23.3.2, increasing graphics capabilities. The desktop environment Budgie has received an update to version 10.8.2, which introduces a "Dark Theme" toggle in Budgie Settings that increases dark theme preference for applications. Solus 4.5 GNOME Edition ships with GNOME 45.2, while Plasma 5.27.10 and XFCE version 4.18 provide diverse desktop environment options, ensuring that Solus continues to provide a feature-rich and updated Linux experience.
Click here for more information about the release (Solus 4.5).
General information from Solus
Solus is an free and open source Linux operating system designed for personal and home computers. It comes with its own desktop environment called "Budgie" which is derived from the GNOME desktop environment. More options are available for graphical user interfaces such as GNOME and MATE. Unlike other Linux operating systems, Solus provides curate rolling releases to all users, meaning that once the OS is installed on your system, it guarantees to receive frequent security and software updates, without the worry that your operating system will reach the end-of-life.
Specification
| Available in | 60+ languages |
| CPU Platform(s) | x86-64 |
| License | Free and open-source software |
System requirements
Minimum:
- AMD / Intel 64-bit processor.
- 1GB RAM (memory).
- 10GB disk space.
Installation Instructions
Starting installer in PC (via USB)
Follow the steps given below:
- Download the Solus 4.5 Budgie ISO image file from the download section.
- Install a USB bootable creation software (such as Rufus) on your Windows PC.
- Plug in a USB flash drive (at least 8 GB of free space available) with your PC.
- Open the USB bootable creation software, and select the ISO image file of Solus 4.5, and start the process.
- As soon as done, plug the bootable USB into a system where you want to install Solus 4.5.
- Restart the target computer.
- Press the boot device menu key and select USB to boot first.
- Select USB device and start the Solus 4.5 installer.
Starting installer in VMware
- Download the Solus 4.5 Budgie ISO image file from the download section.
- Launch the VMware Player, and start creating a new virtual machine.
- Select the ISO image file of Solus 4.5, and use the default settings for the virtual machine.
- Start the virtual machine and go to the Solus 4.5 installer.
Starting installer in VirtualBox
- Download the Solus 4.5 Budgie ISO image file from the download section.
- Launch the Virtualbox application on your computer, and start creating a new virtual machine.
- Select Linux and use the settings for the virtual machine according to the system requirements.
- Start VM and when it asks to select the Host Drive, then select the downloaded Solus 4.5 Budgie ISO file in step 1.
Last step
As you go to the Solus 4.5 live session, follow the steps below:
- Click the install OS shortcut in the home screen.
- Select language, keyboard layout, time zone, etc.
- On the disk selection step, choose the Auto Partition option. (Note - This will erase all your data from the disk you choose. If you want to create a separate partition for Solus OS, select another option)
- Check to install the bootloader on the next step.
- Add a user and start the installation.
- Wait until the installation is done.
- As soon as this process is complete, click on the 'Restart Now' button.
- Finally, login to Solus OS and enjoy. Don't forget to remove the installation medium from the computer (eg, USB, CD / DVD).
Screenshots
