Download operating system
for your personal computer.
CloudReady 64.4 Stable (Home Edition - April, 2018) 32-bit, 64-bit ISO Disk Image Free Download
Old Version
- OS Version: CloudReady
- OS Distribution: CloudReady
- OS Family: Linux
- Developers: Neverware
Description
CloudReady 64.4 stable home version was released on March 2018, based on Google Chrome OS 64, and was designed for desktop / laptop computers. 32-bit (x86) and 64-bit (x86-64) versions are available for CloudReady 64.4. This version of CloudReady, and Chrome OS 64 includes some new features and changes, such as Removed dualboot option, VPN for Google Play Apps, fix bugs, etc.
Before this version, CloudReady 63.3 was posted on this website.
General information from Chromium OS
Chromium OS uses the Chromium (web browser engine) as its user interface, and is designed to run web apps. The OS is based on the Linux kernel, and instead of distributing it directly to the consumers, compile is required through the source code. Operating systems based on Chromium OS are run faster, because it primarily handles web applications and Google Chrome browser.
General information from Neverware
Neverware is a tech company (supported by Google) which provides an operating system called 'CloudReady' as a service to consumers, academic institutions and enterprises. CloudReady is based on Google's open source Chromium project, which can be installed on PC and Mac with the support of older hardware. People who like Chrome OS, but they do not have any Chromebook device, they can install the CloudReady Home version on your PC for free and use Chrome OS.
Specification
| Available in | Multiple languages |
| CPU Platform(s) | x86, x86-64, ARM |
| License | Free |
System requirements
Minimum:
- x86 Processor.
- 2GB of RAM.
- 16GB of storage space.
Installation instructions
Starting installer in PC (via USB)
Follow the steps given below:
- Download the CloudReady 64.4 ZIP file from the download section.
- Extract the ZIP file, and get the CloudReady BIN file.
- Open the Google Chrome browser on your PC, and install the Chromebook Recovery Utility app.
- Make a USB flash drive plugin with your PC with at least 4 GB storage space.
- Launch the Chromebook Recovery Utility app on your PC. (Go to Chrome browser> Type 'chrome://apps/' in the address bar, press Enter> Find and launch the Recovery app)
- In the Recovery Utility, click on the Settings icon, and select the 'Use Local Image' option.
- Choose CloudReady's BIN file that you have extracted in step 2.
- Now, select the USB drive, and start the process.
- As soon as done, plug the USB into the computer where you want to install CloudReady OS.
- Restart the computer.
- Press the boot device menu key and select USB to boot first.
- Select USB device and start the CloudReady OS 64.4 installer.
Last step
As soon as you go to the CloudReady Welcome Screen, follow the steps given below:
- Go ahead and connect to the network / internet.
- Sign in with your Google Account.
- This will open a live session for the OS.
- Check the operating system in the live session, and when you're ready to install, just click on the 'Install CloudReady' option in the bottom corner of the screen.
- Follow on-screen instructions.
- Erase the hard disk and install the operating system. (Warning - Erasing hard disk will delete all other operating systems from the computer)
- Do not remove the USB drive until it restarts or closes the computer.
To learn more about CloudReady 64.4, check out the official document page.
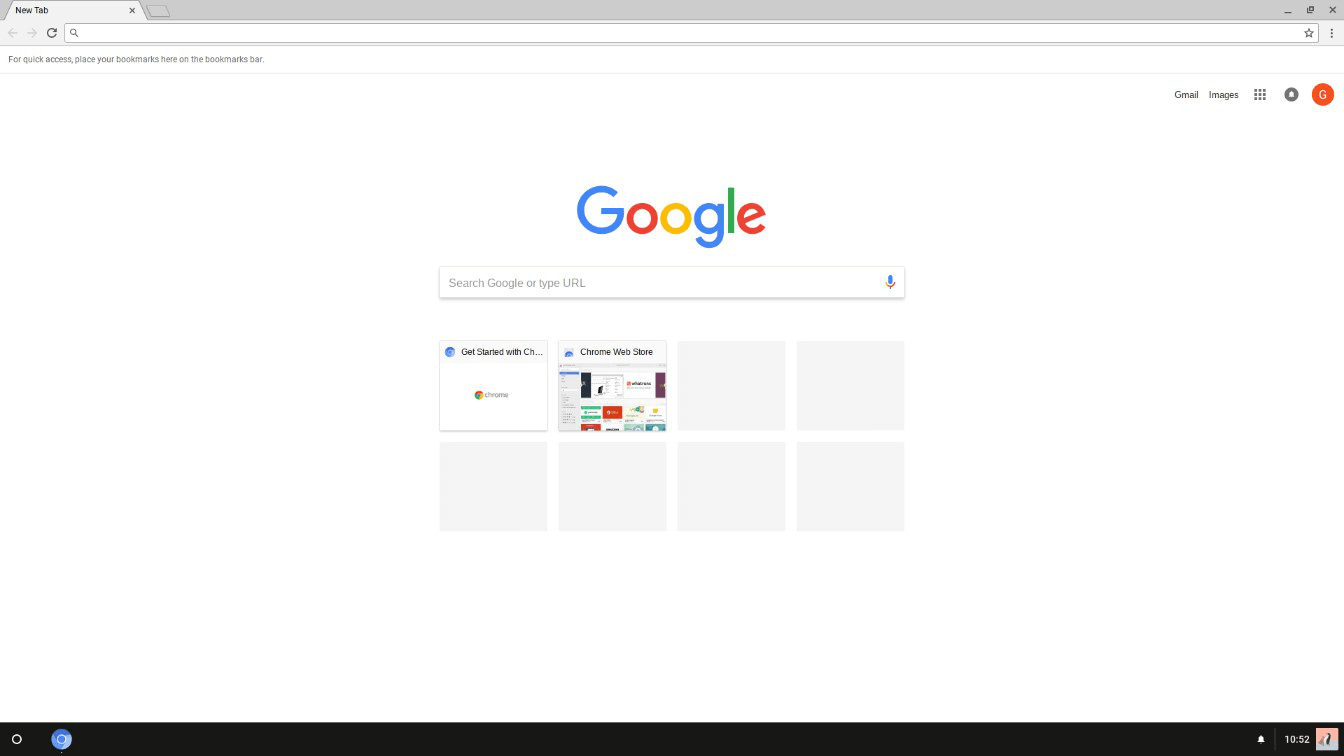
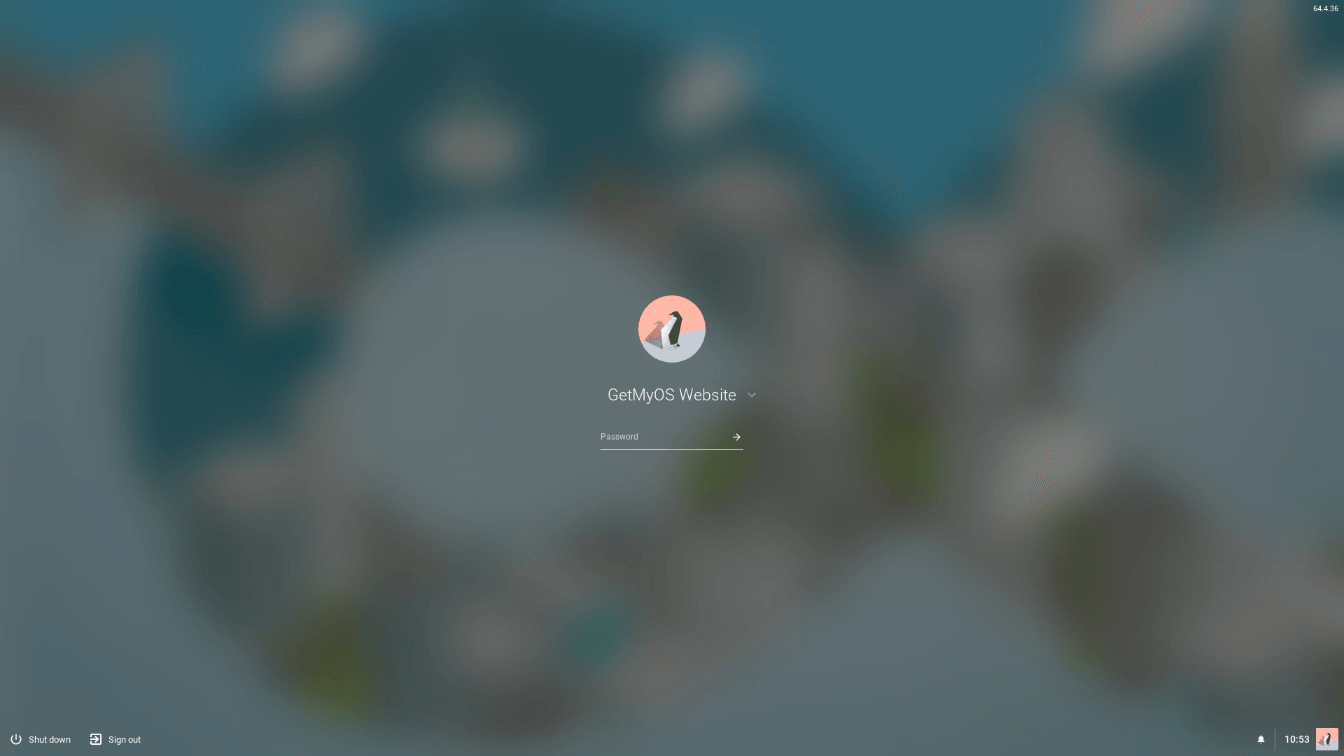
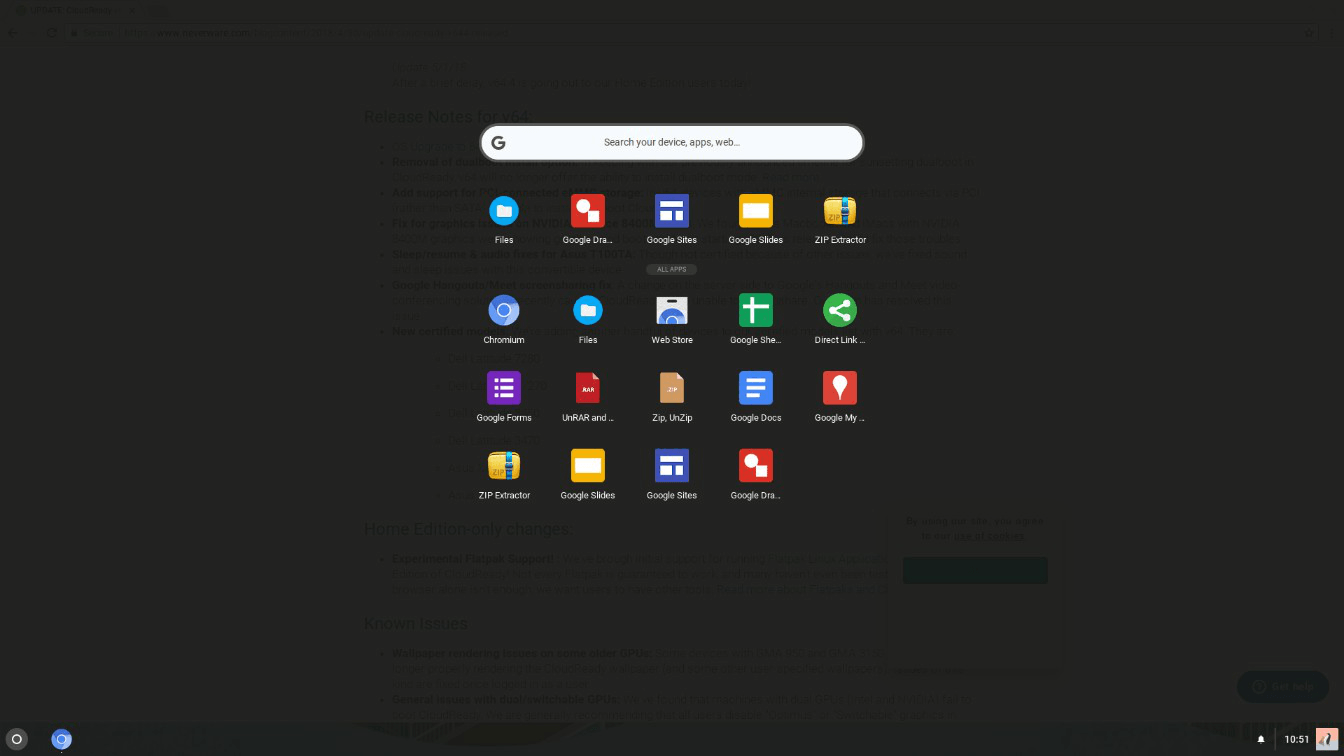
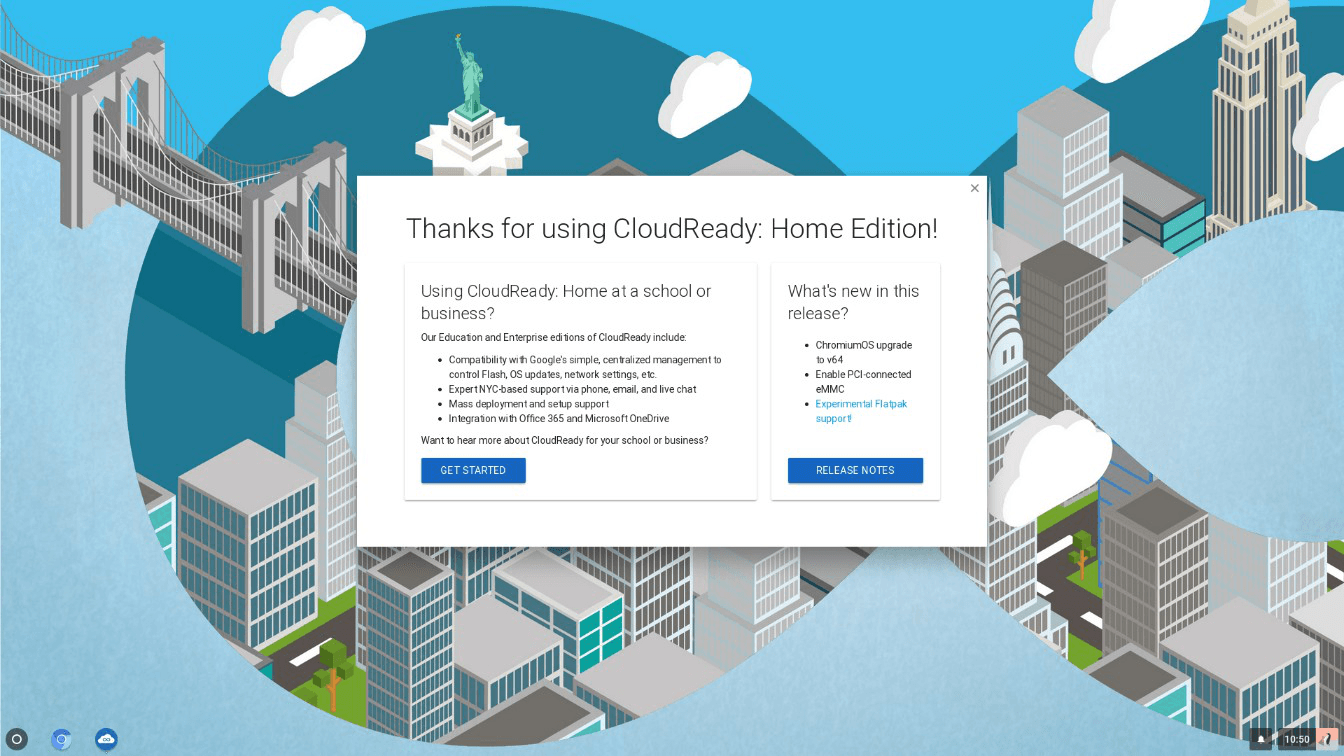
Screenshots